
This is a very rough tutorial on how to create control panels with the vector graphics tool “Inkscape”. I am NO designer, I consider myself to be rather a craftsman and a real designer might smile on my feeble efforts, but this might give a newbie some hints concerning the way to go – expect no miracles.
It is very helpful if you have basic Photoshop or similar skills and know how to work with splines. I’ll try to show the steps, but can’t go into the details.
Preparation: Inkscape
1) Install Inkscape: https://inkscape.org/en/
2) Take the “Shapes” tutorial: https://inkscape.org/doc/shapes/tutorial-shapes.html
3) Do one or more of the “Gradients” tutorials: https://www.google.de/#q=inkscape+gradients
4) Do one or more of the “Splines” tutorials: https://www.google.de/#q=inkscape+splines
5) Learn about “Layers”, “Groups” and probably “Masking”
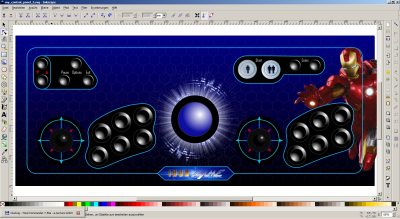
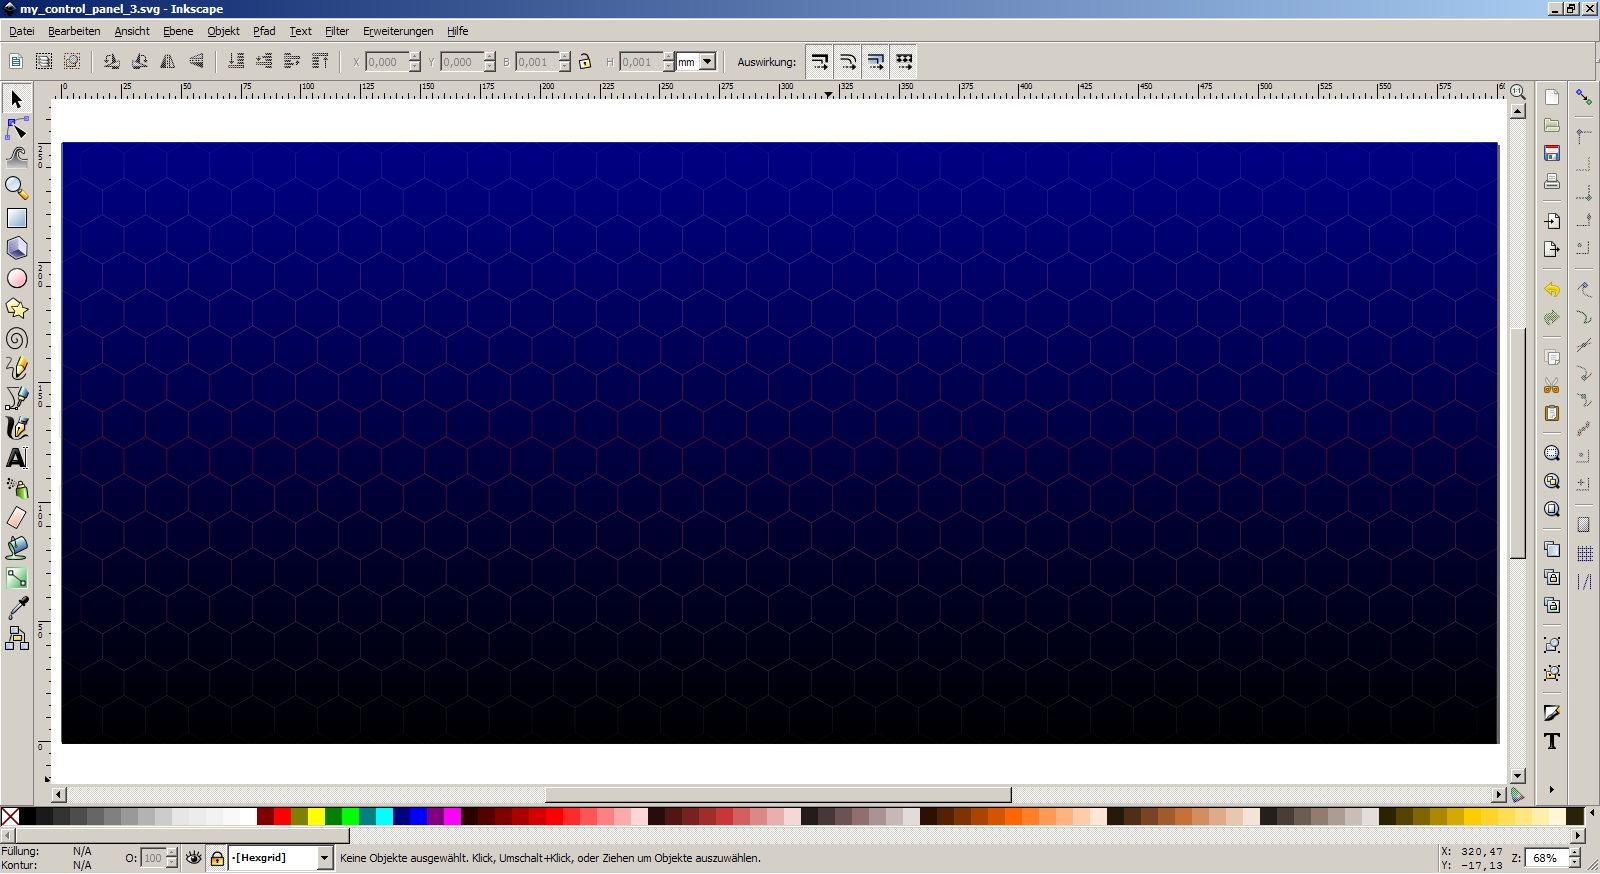
Step 1: Background
– Set up the environment – with and height of your panel, units (in my case: mmm)
– Create a box the size of your panel, fill it with a gradient that you like
– I did a linear gradient dark blue to black

Step 2: Decoration
– Create a new layer – it is vital to separate elements, it makes it easier to lock and show/hide certain elements
– Decide on an overlay – I choose hexagons – if you don’t know how to do it yourself, search a matching SVG on the web
– If you group multiple elements to one, you can apply a gradient to the whole construct – in my example, light grey to red to light grey – with opacity

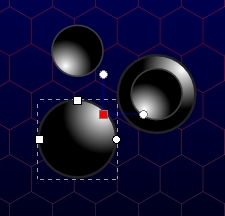
Step 3: Draw a button
– Create a new layer. Hint: Even with multiple elements on one layer, it is possible to sort them from front to back.
– Easy way: Copy a PNG button from the web and import it. Scale it to size.
– Vector way: Draw two circles with radial gradients. The gradients can be moved by using the node tool and moving the center.
– Put the small on top of the larger one and group them – you have a button
– A joystick from above is just a button with a very distinct/sharp gradient
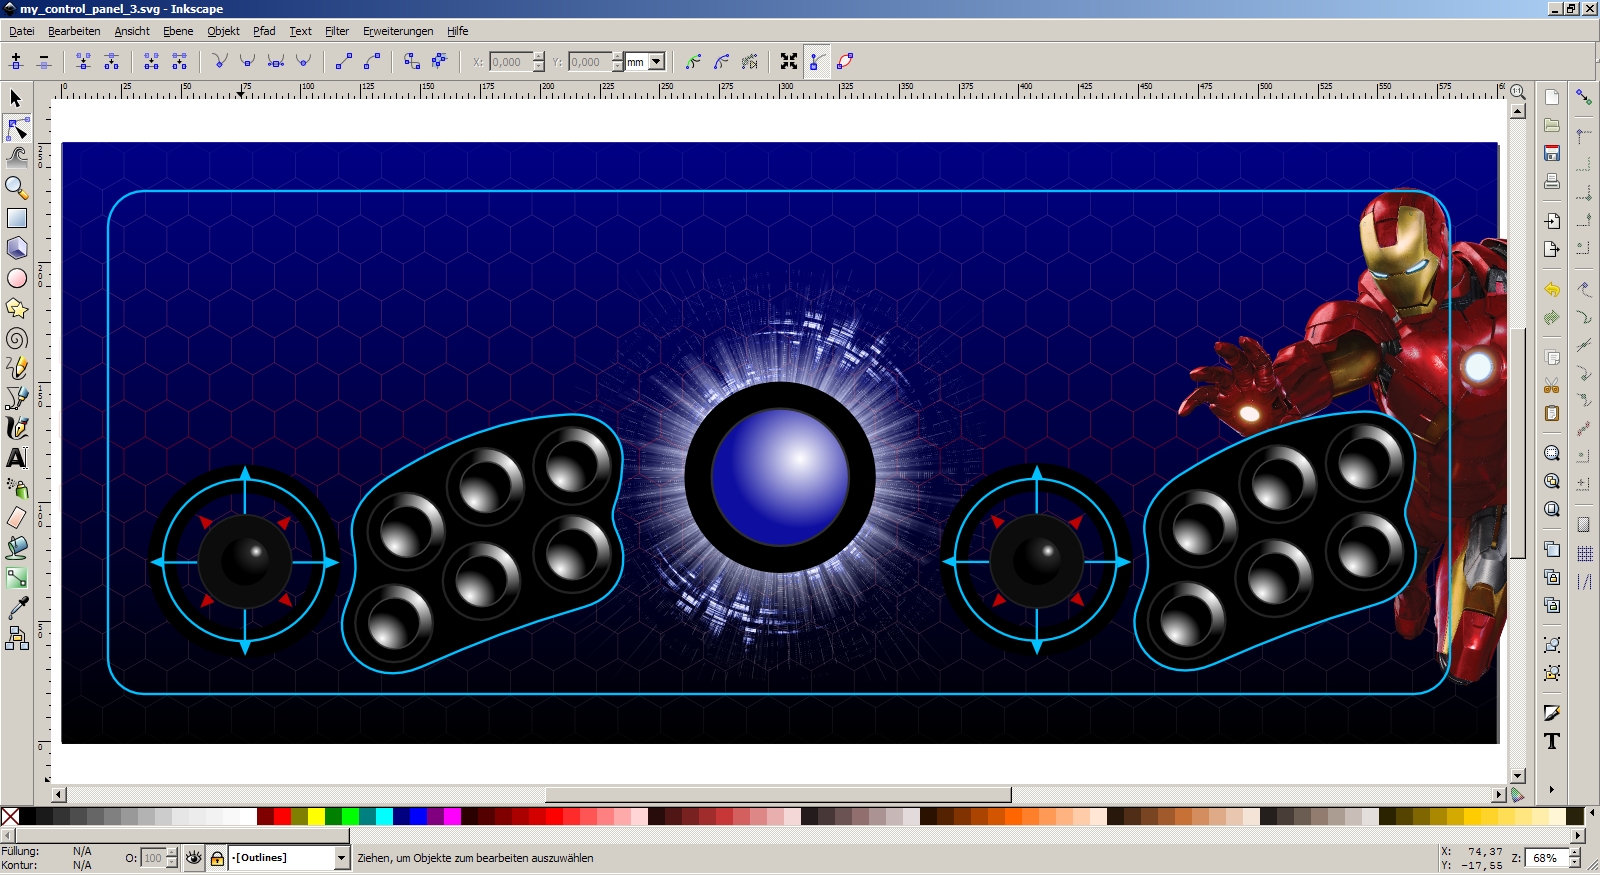
Step 4: Arrange your buttons
– You can copy buttons as you would copy any other element CTL-C, CTRL-V – make sure, you’re on the right layer before pasting
– Draw circles, rectangles, lines on a separate layer to create panels for your buttons
– Arrows can be created with the “star” tool – just set sides to 3
– For positioning, it’s often helpful to use the numbers and arrow buttons on top of the screen – they’re much finer than mouse or cursor movements
– Don’t forget to use layers!

Step 5: Decals
– Choose decals from the web that you like to use – remember to use png or svg – you don’t want the images background to show
– Partition your board with lines or shapes – use your creativity
– Make sure you don’t *publish* copyrighted material
Step 6: Finish
– Create more menu buttons, as you like
– Push elements around, create, experiment, combine
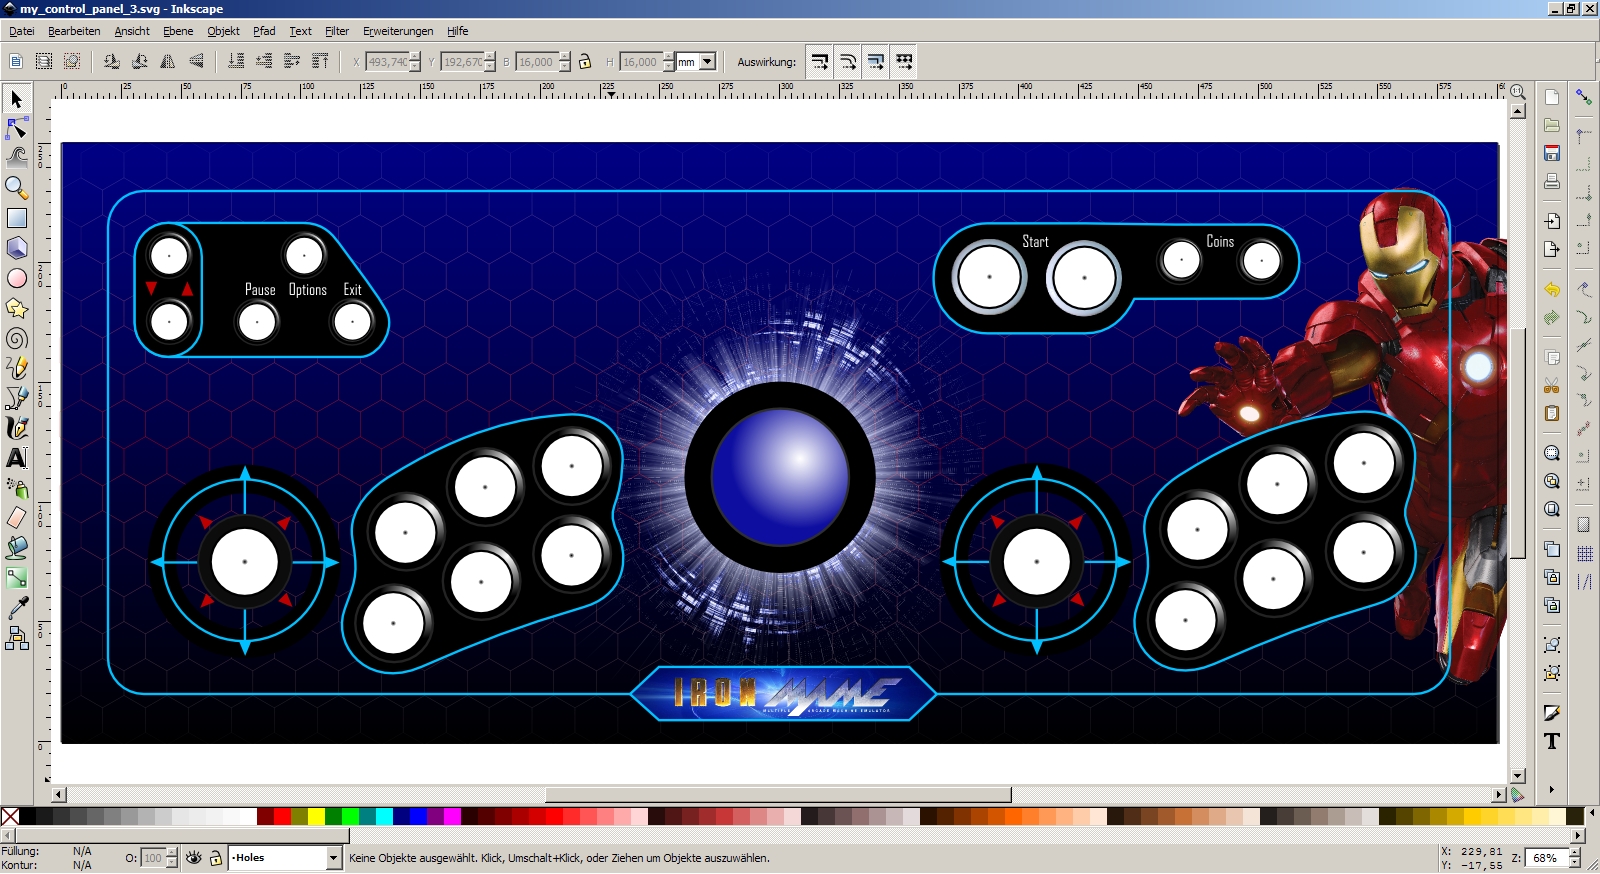
– If you’re satisfied, create a drilling sheet by adding white circles with black border and a very sharp black/white gradient indicating the center (trackball missing here)
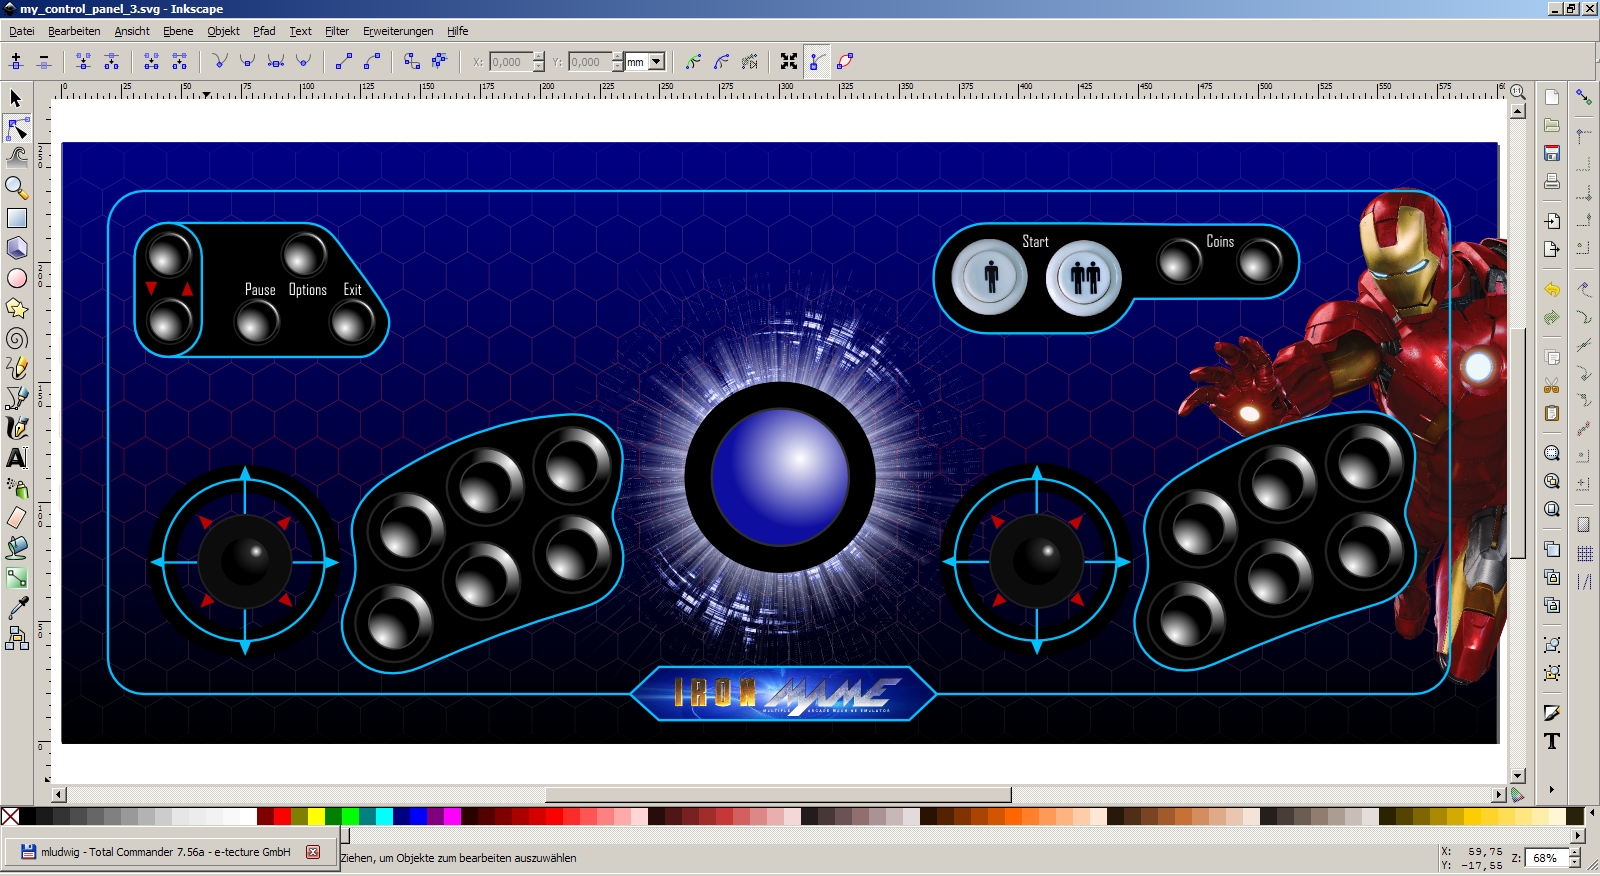
[…] The decision for an Ironman theme was made due to the hi-res images available on the web and a little word play going from Ironman to IronMAME. To avoid copyright issues, my “derived work” is not available for download, but the tutorial for my control panel can be found here. […]